Lighthouse Photography Checklist: 15 Shots to Capture Before You Leave
Lighthouses reward patience and punish rushing. You drive two hours, park, walk up, and fire off thirty near-identical frames from the same patch of gravel. Then the light turns gold on the tower's east face and you have three minutes before you promised to be back at the car. This checklist is the fix. Fifteen frames, in roughly the order it makes sense to shoot them, with the settings and small decisions that make each one land. Work the list once and you will leave with pictures that say something about the place, not just that you were there.
Start Wide: The Establishing Frame
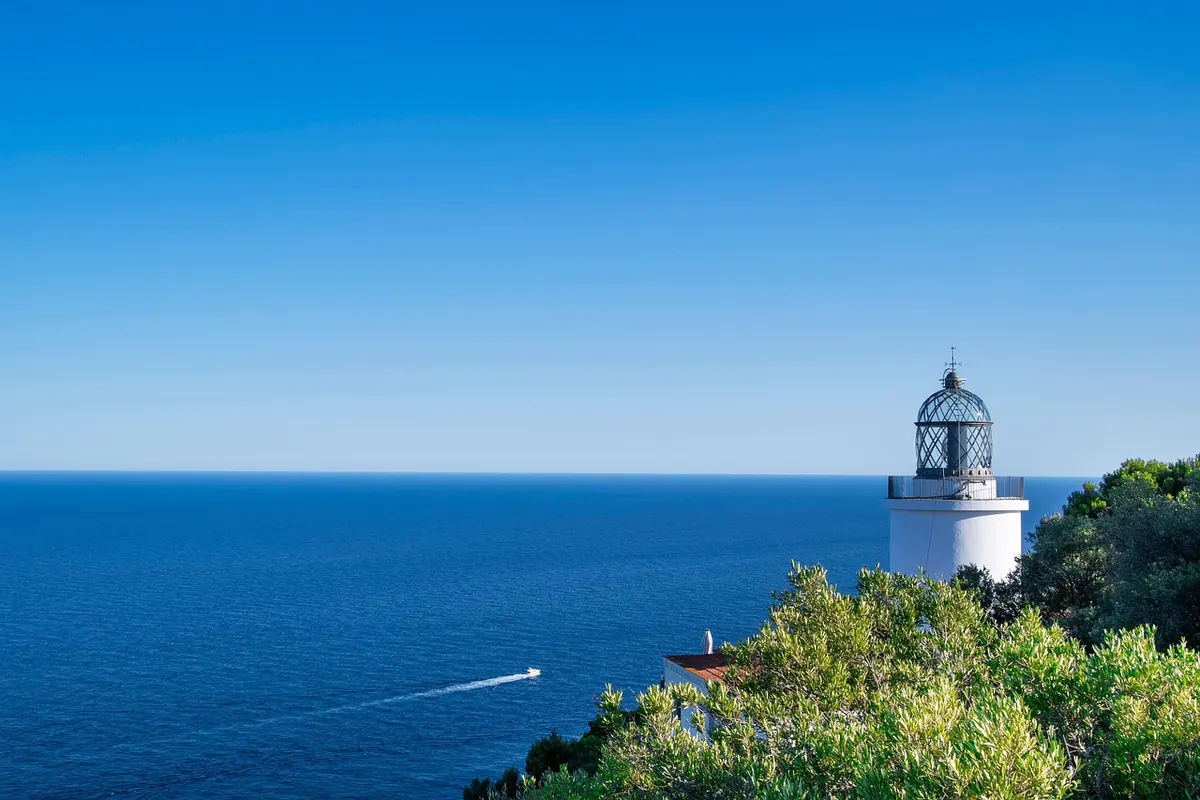
The first shot is the one most people skip, because it feels too obvious. Walk back. Then walk back further — a hundred metres, two hundred if the terrain allows. A lighthouse photographed from its own car park looks like a postcard bought at the gate. A lighthouse photographed from the top of the approach road, with the cliff edge and the sea's horizon in the frame, tells you where you are.
Use a wide zoom around 24mm on full frame, or 16–35mm if you have it. Set f/8 for consistent sharpness across the frame, ISO 100, and let the shutter fall where it may; on a bright day you will be around 1/250 sec handheld. Resist centring the tower. Put it a third of the way in on one side and give the sea the room it deserves. Shoot a vertical as well — lighthouses are tall, and verticals suit the shape, plus they work better on a phone screen.
Check the corners before you move on. A stray bin bag, a car bumper, or a leaning fence post at the edge of a wide frame will irritate you for years. Take two steps left or right and it disappears.
Move In: Details and Texture
Salt air is unkind to buildings, which is excellent news for photographers. Every lighthouse carries a record of weather in its paint: blistering on the seaward side, rust bleeding from a hinge, a door bleached to the colour of weak tea. These frames are cheap to make, they rarely fail, and they hold a story when the wide shots all start looking alike.
A 70–200mm or a macro lens is ideal. Stop down to f/8 or f/11 for sharpness across a flat surface, and use exposure compensation rather than trusting the meter. White-painted towers fool cameras into underexposing, so add around +⅔ stop when the wall fills the frame; if you want the paint to hold texture rather than clip to pure white, check the histogram and pull back until the highlight side is just short of the right edge.
Work through the obvious subjects: the lantern glass, the ironwork gallery railing, the spiral staircase shot straight up with the camera braced against the wall, the keeper's cottage window, a padlock, a numbered plate. Overcast light is your friend here. Flat, even light shows texture that harsh midday sun destroys.
Show the Scale
Put a person in it
A lighthouse without a human reference is just a tower. Ask whoever you are with to stand at the base, near a door or on the path, and shoot from low down with a wider lens. Keep the figure small — a tenth of the frame height is plenty. At 24mm and f/8, a shutter of 1/250 sec or faster keeps them crisp if they fidget; if you want them blurred into a soft suggestion of movement, drop to 1/30 sec and hold still.
Let the sea do the work
Waves hitting the rocks below give you the same information with more drama. Fast shutter speeds — 1/1000 sec or faster, high burst rate, continuous autofocus — freeze spray into glass-like fragments. Slow speeds turn it into mist. Both are worth having; neither is better. Pick your moment, watch two or three sets of waves to learn the rhythm, and keep the horizon level. A crooked horizon on a seascape is the fastest way to make a good frame look careless.
Light Is the Whole Game: Sunset and Blue Hour
Arrive at least forty-five minutes before sunset. The good light is rarely at the exact minute of sunset; it comes before, when the sun is low enough to rake the tower's texture, and after, when the sky goes soft and pink behind a silhouette.
For the sunset frame, put the camera on a tripod, focus manually using live view magnified on the tower's edge, and switch off stabilisation. Set f/11 for depth of field and use base ISO. Bracket three exposures a stop apart if the sky is bright and the rocks are dark; blending later is easier than rescuing a blown-out sky now. A polariser will deepen the blue and cut glare off wet rock, but watch it on very wide lenses — the sky can go uneven across the frame. A graduated filter helps if the horizon is clean; if the coastline is ragged against the sky, skip it.
The best lighthouse photographs are almost never taken from the car park. They are taken from the rocks, the path, and the ten minutes you almost decided to skip.
Blue hour is the twenty to thirty minutes after sunset. This is when the lamp comes on and the sky still holds colour. Settings to start with: f/8, ISO 400, and exposures between two and eight seconds. Long exposures make the beam into a soft fan; short ones keep it as a hard ray. If the tower is lit by its own lamp, watch for the moment the beam sweeps toward you and fire then.
Foreground, Reflections, and Frames
Most lighthouse locations hand you free compositional tools. Rock pools reflect the tower upside down. Wet sand at low tide does the same, more subtly. Driftwood, marram grass, a weathered fence, or a line of worn steps all lead the eye inward. Get low — knee height or lower — and shoot through the grass rather than over it.
Watch your tide tables and the state of the rocks. Wet, weed-covered stone is genuinely slippery, and waves arrive in sets, not singly. Keep your bag above the spray line, keep one hand free, and never turn your back on the water for long.
The 15-Shot Checklist
- Wide establishing view — from the approach, 24mm, f/8, tower off-centre.
- Full-height vertical — the whole tower with room above and below.
- Lead-in line — path, fence, or steps running toward the base.
- Lantern room close-up — glass, mullions, and the lamp inside.
- Staircase spiral — straight up or straight down, camera braced.
- Texture detail — rust, blistered paint, a salt-stained door.
- Scale with a person — figure at the base, low angle, wide lens.
- Keeper's cottage or outbuilding — the supporting cast.
- Frozen wave — 1/1000 sec or faster, spray against dark rock.
- Long-exposure sea — 4–30 sec on a tripod, water turned to milk.
- Reflection — rock pool or wet sand, low and close.
- Sunset silhouette — bracketed, f/11, tripod, manual focus.
- Blue-hour beam — the lamp on, colour still in the sky.
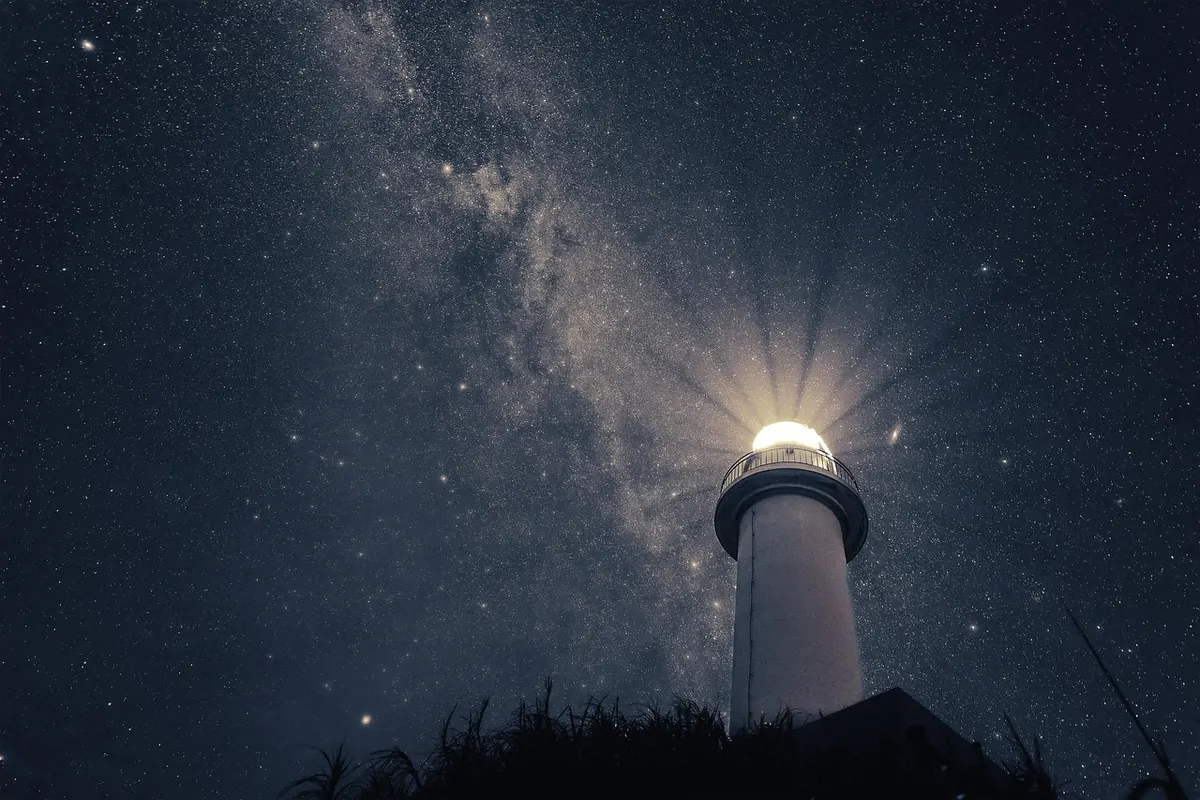
- Night or star field — high ISO, wide open, twenty-second exposure, tripod.
- The departure frame — the tower from a distance as you leave, small in the landscape.
That last one matters more than it sounds. Turn around once you are a few hundred metres away and shoot back. The compression of a 100mm lens, the tower tiny against the headland, gives you a closing image that no one else on the trip will have.
One Last Look Before the Car Park
Before you pack up, do a five-minute review rather than a five-second one. Zoom into the corners of your best wide shot at full magnification to check focus. Look at the histogram, not the back-of-camera preview, which lies brightly in daylight. Wipe the front element — sea spray dries into a haze you will not notice until you open the files at home. Shoot one extra frame of anything you almost deleted; it costs nothing.
Then put the camera away and look at the building without it for a minute. Note which direction the light came from and where the tide was. That is the information you will want next time, and it is the part no settings list can give you.
Lighthouse Stays vs. Nearby Hotels: How to Choose Overnight Accommodation
A practical comparison of lighthouse keeper cottages and nearby hotels on access, amenities, noise,...
Seven Curious Lighthouse Superstitions and Coastal Legends
A tour through lighthouse ghosts, sailor taboos and wreckers' tales — and a practical guide to telling a...
About Us